Use Deep Linking to Bring Pressbooks Content into a Course
Deep Linking is the most simple, streamlined method of bringing material from your books on Pressbooks into courses in your LMS (Canvas, Blackboard, Moodle, or D2L Brightspace).
This chapter will show you how, as an instructor, you can use this method to bring select chapters or entire books from your Pressbooks network into a course in your LMS. It outlines the steps for each supported LMS: Canvas, Moodle, Blackboard, and D2L Brightspace.
Canvas
- Open your Canvas course and navigate to Modules.
- You’ll be bringing in material from Pressbooks into a module in your course. You can create a new module using the +Module button in the top-right corner or you can use an existing module.
- Click the + sign on the right side of the module.

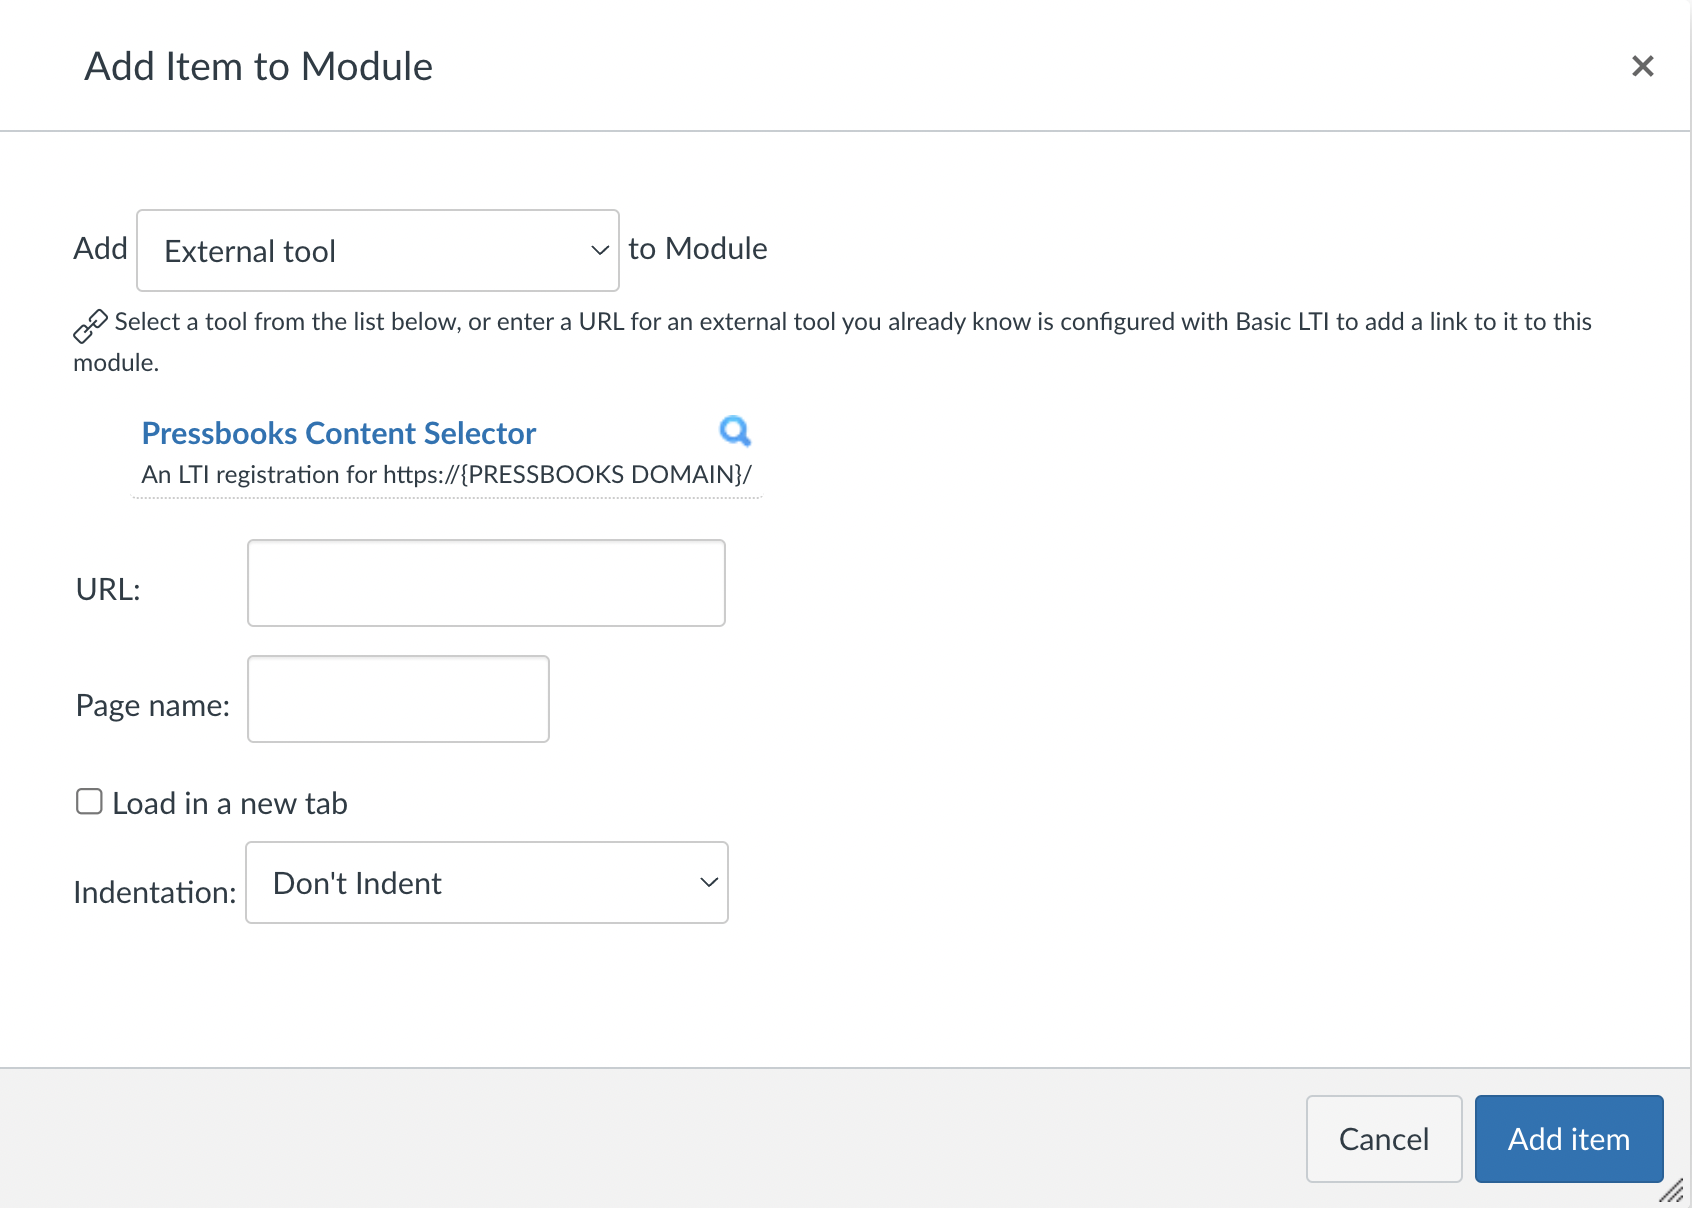
- An ‘Add Item to Module’ viewer will appear. Select the option to Add External tool to Module.
- You will see a tool (likely named ‘Pressbooks Content Selector’) associated with your Pressbooks network. Click the tool name. (Note: if you do not see a Pressbooks-related tool here, this is because your institution’s LMS administrator needs to enable deep linking.)
- Once you’ve selected the tool, you’ll see the Table of Contents for every book from your Pressbooks network that you are a user in. (Note: if you see no books to select from here, that means your user account in Pressbooks does not belong to any books. If you expect to be a user in a book but it doesn’t appear for selection, please contact your network manager.)
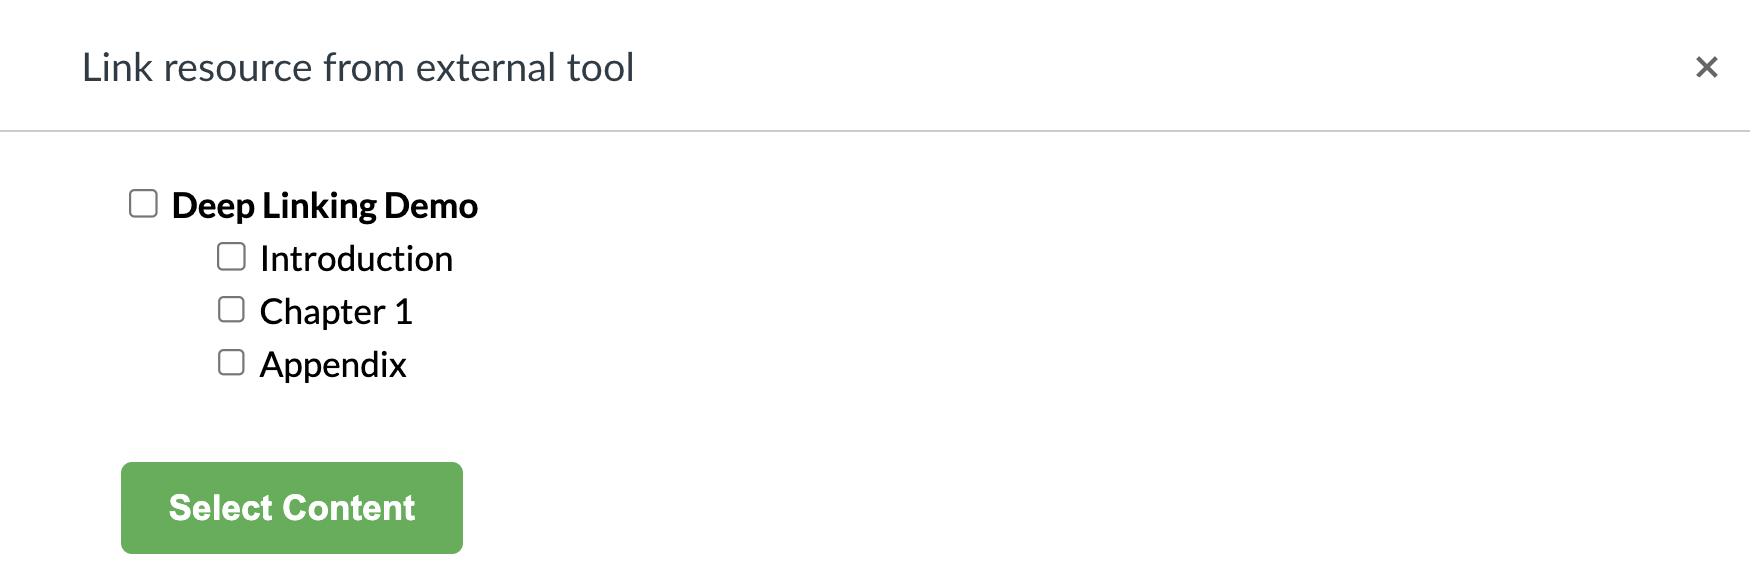
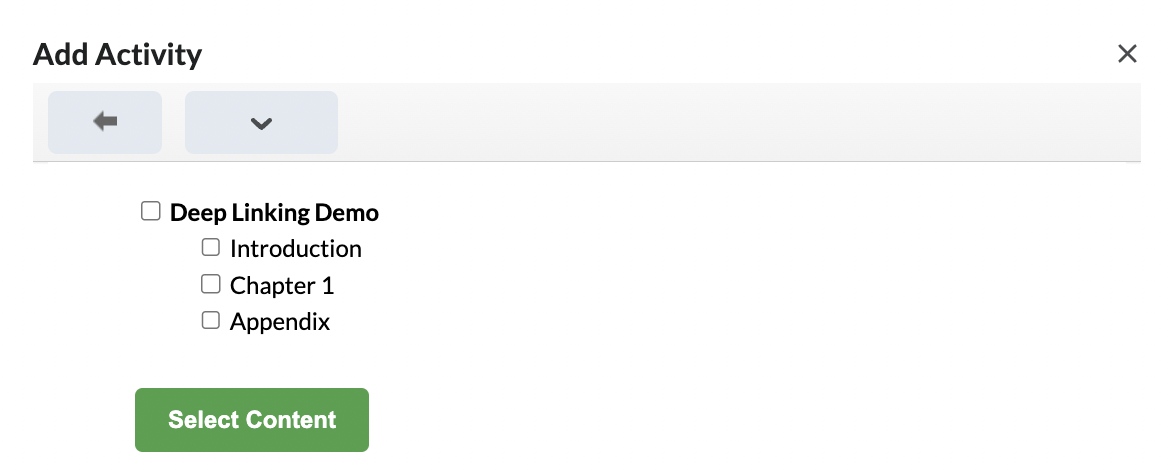
- Check the box beside a book title to select a particular book to bring in. Or if you’re looking to bring in particular chapters or front/back matter from a book, select the boxes beside those pages to bring them in.
- Once you’ve selected the desired material to bring into your course, click the Select Content button. (Note: clicking this button without any content selected leads to an error message.)
- If you selected multiple pages to bring in, they have now been imported into your course. If you selected only one page to bring in, press the Add Item button to complete import.
- You’ve successfully brought your Pressbooks material into your course.
Please note that if you are including private content in your course (i.e. your Pressbooks book is set to private or individual pages in it do not have the ‘Show in web’ option selected), you will need to make sure your book in Pressbooks has its Settings > Sharing & Privacy > Private Content setting set to ‘All logged in users including subscribers’. If not, students mapped to the role of subscriber from the LMS will not be able to access private content when launching LTI links (they’ll see an ‘Oops! This content cannot be found’ message instead). You can update the Private Content setting in your book dashboard in Pressbooks from Settings > Sharing & Privacy.
Moodle
- Open your Moodle course.
- On the right of the name of your course, click the Turn editing on button.

- Beneath any Topic in the course, click the text ‘Add an activity or resource’

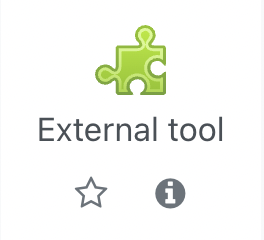
- A viewer appears showing various activities and resources. Click the one named External tool.
- This opens a new page called ‘Adding a new External tool‘. Skip past the Activity Name field on this page.
- In the Preconfigured tool field, click the ‘Automatic, based on tool URL’ text. This reveals a dropdown menu of tools to choose from. Select the option with the name of your institution’s Pressbooks network. (Note: if you do not see a Pressbooks-related tool here, this is because your institution’s LMS administrator needs to enable deep linking.)

- Then, click the Select content button.
- You will see the Table of Contents for every book from your Pressbooks network that you are a user in. (Note: if you see no books to select from here, that means your user account in Pressbooks does not belong to any books. If you expect to be a user in a book but it doesn’t appear for selection, please contact your network manager.)
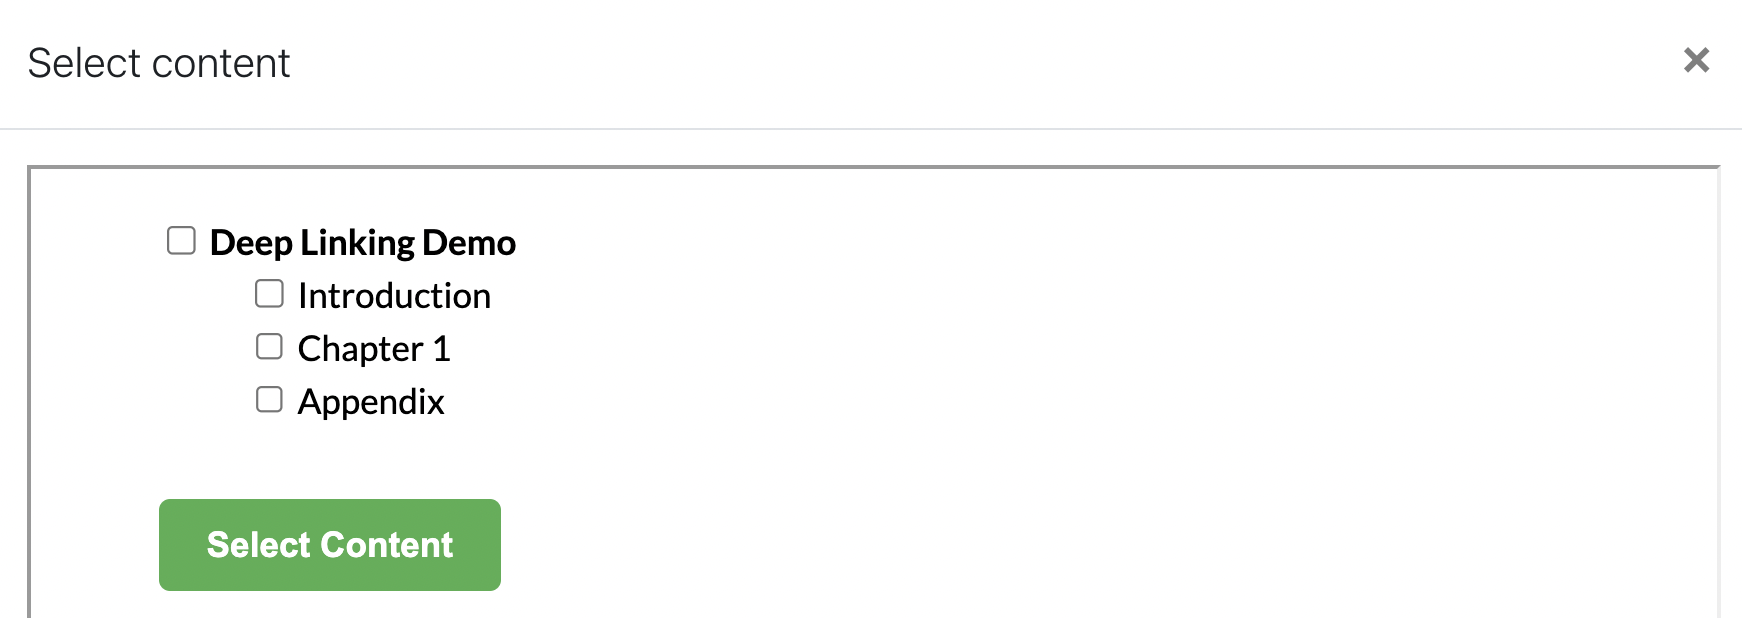
- Check the box beside a book title to select a particular book to bring in. Or if you’re looking to bring in particular chapters or front/back matter from a book, select the boxes beside those pages to bring them in.
- Once you’ve selected the desired material to bring into your course, click the Select Content button. (Note: clicking this button without any content selected leads to an error message.)
- If you’ve selected multiple webbook pages to bring in, you’ll be shown this confirmation screen:
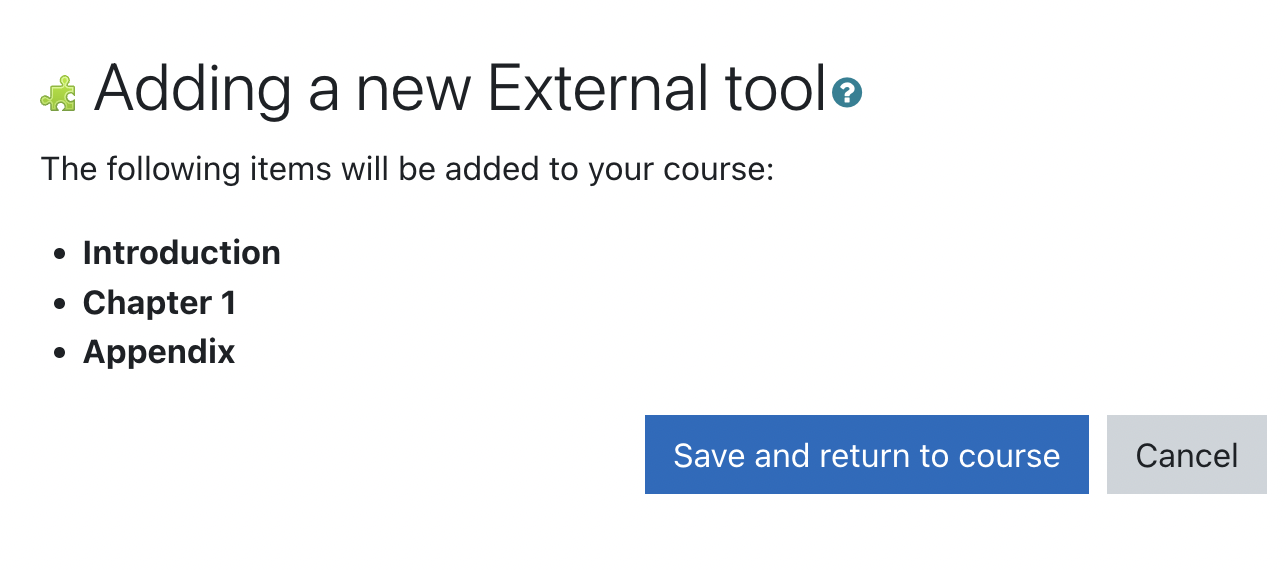
Whereas if you’ve selected one webbook page to bring in, you’ll land on the same page but with the ‘Activity name’ and ‘Tool URL’ fields now filled in. Either way, the next step is the same: click the Save and return to course button at the bottom of the page. - You’ve successfully brought your Pressbooks material into your course.
Please note that if you are including private content in your course (i.e. your Pressbooks book is set to private or individual pages in it do not have the ‘Show in web’ option selected), you will need to make sure your book in Pressbooks has its Settings > Sharing & Privacy > Private Content setting set to ‘All logged in users including subscribers’. If not, students mapped to the role of subscriber from the LMS will not be able to access private content when launching LTI links (they’ll see an ‘Oops! This content cannot be found’ message instead). You can update the Private Content setting in your book dashboard in Pressbooks from Settings > Sharing & Privacy.
Blackboard
- Open your Blackboard course. Note: you must be enrolled in the Blackboard course in order to use this tool.
- Click Content in the left sidebar menu.
- Hover your cursor over Build Content.
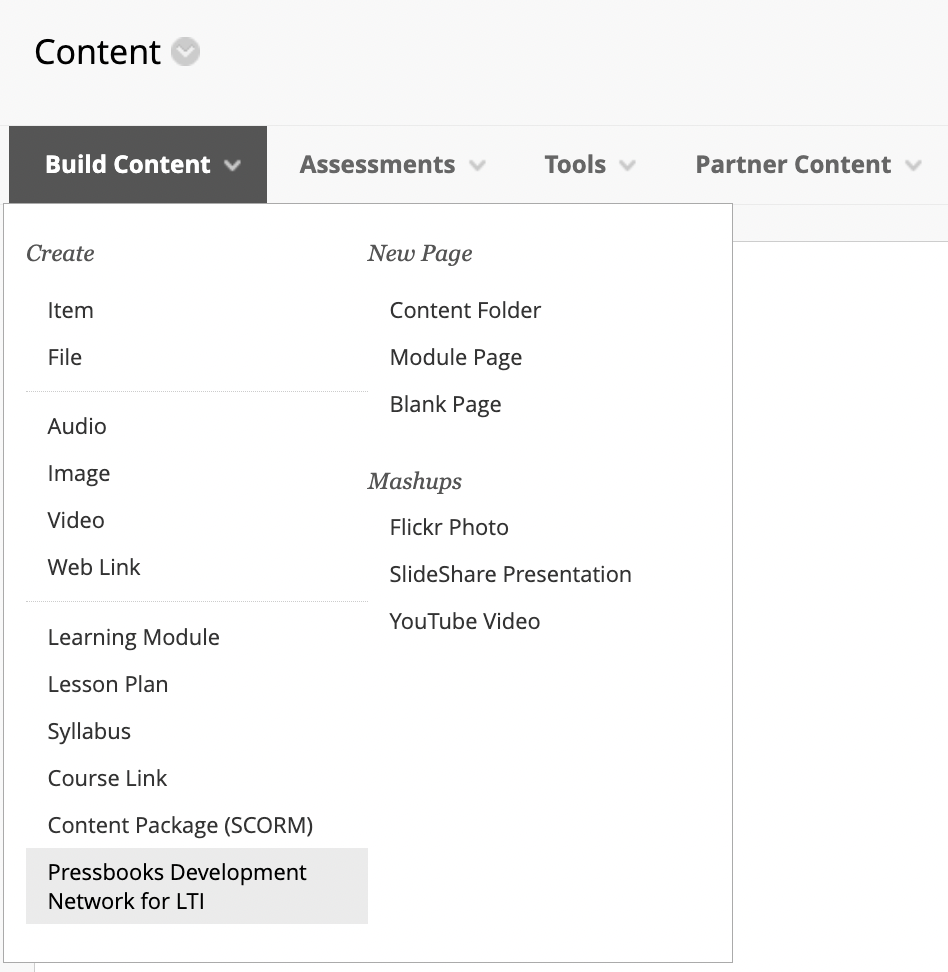
- Click the option that corresponds to your Pressbooks network. It will either have a name like ‘Pressbooks Content Selector’ or the name of your Pressbooks network. (Note: if you do not see a Pressbooks-related tool here, this is because your institution’s LMS administrator needs to enable deep linking.)
- You will be brought to a page showing the Table of Contents for every book from your Pressbooks network that you are a user in. (Note: if you see no books to select from here, that means your user account in Pressbooks does not belong to any books. If you expect to be a user in a book but it doesn’t appear for selection, please contact your network manager.)
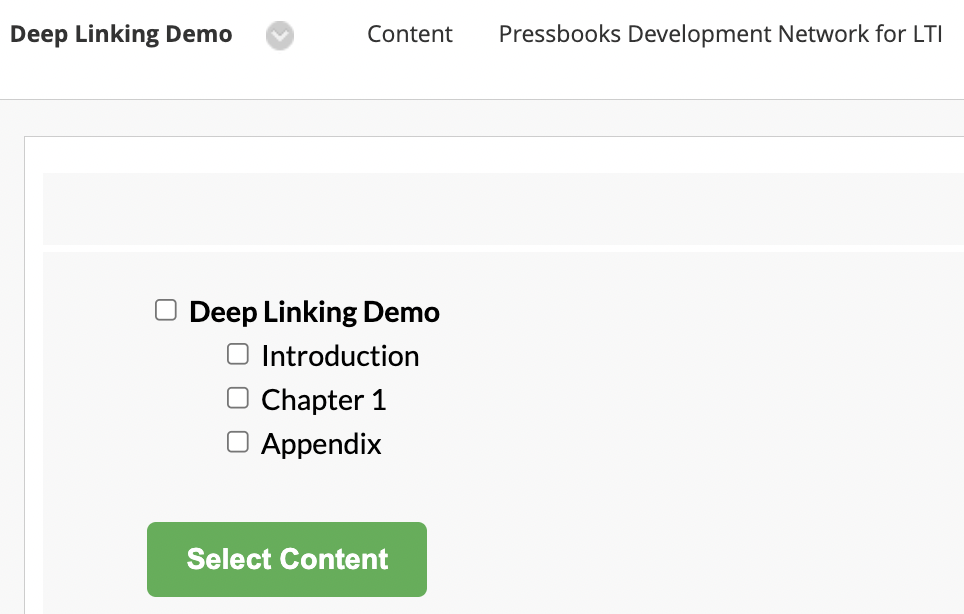
- Check the box beside a book title to select a particular book to bring in. Or if you’re looking to bring in particular chapters or front/back matter from a book, select the boxes beside those pages to bring them in.
- Once you’ve selected the desired material to bring into your course, click the Select Content button. (Note: clicking this button without any content selected leads to an error message.)
- You’ve successfully brought your Pressbooks material into your course.
Please note that if you are including private content in your course (i.e. your Pressbooks book is set to private or individual pages in it do not have the ‘Show in web’ option selected), you will need to make sure your book in Pressbooks has its Settings > Sharing & Privacy > Private Content setting set to ‘All logged in users including subscribers’. If not, students mapped to the role of subscriber from the LMS will not be able to access private content when launching LTI links (they’ll see an ‘Oops! This content cannot be found’ message instead). You can update the Private Content setting in your book dashboard in Pressbooks from Settings > Sharing & Privacy.
D2L Brightspace
- Open your D2L course and navigate to Content.
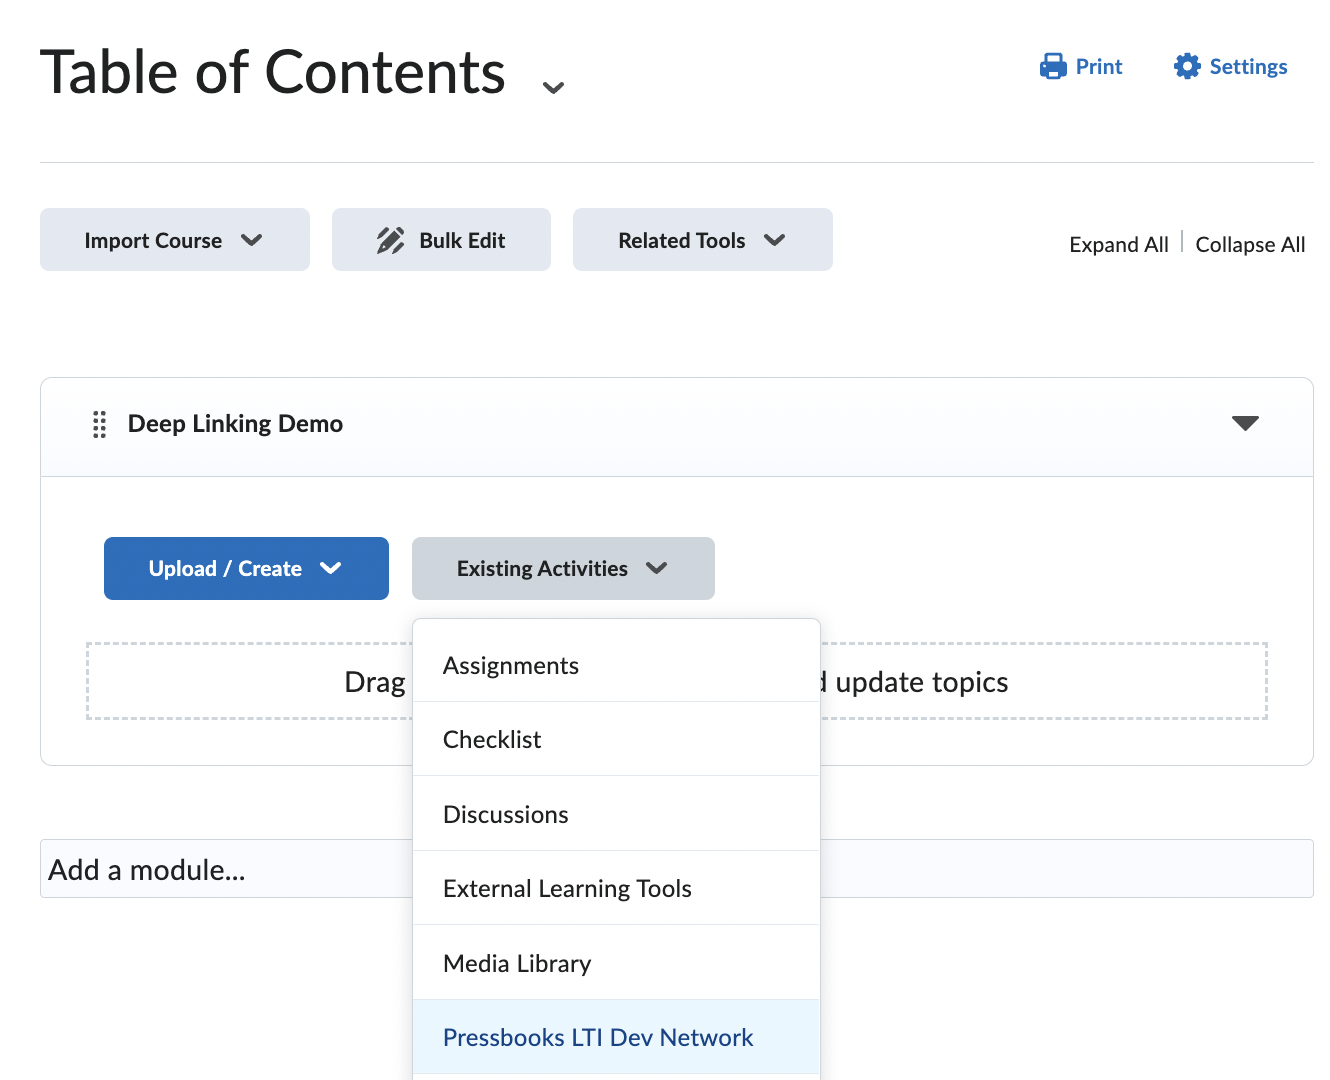
- You’ll be bringing in material from Pressbooks into a module within the Table of Contents. You can create a new module using the Add a module… form at the bottom of the page or you can use an existing module.
- Press the Existing Activities button for the module that you’d like to bring material into. You will see a dropdown list of options, including one with a Pressbooks-related name: likely the name of your Pressbooks network (in this screenshot example, ‘Pressbooks LTI Dev Network’) or a name like ‘Pressbooks Content Selector’ (Note: if you do not see a Pressbooks-related tool here, this is because your institution’s LMS administrator needs to enable deep linking.)
- You’ll see a viewer showing the Table of Contents for every book from your Pressbooks network that you are a user in. (Note: if you see no books to select from here, that means your user account in Pressbooks does not belong to any books. If you expect to be a user in a book but it doesn’t appear for selection, please contact your network manager.)
- Check the box beside a book title to select a particular book to bring in. Or if you’re looking to bring in particular chapters or front/back matter from a book, select the boxes beside those pages to bring them in.
- Once you’ve selected the desired material to bring into your course, click the Select Content button. (Note: clicking this button without any content selected leads to an error message.)
- You’ve successfully brought your Pressbooks material into your course.
Please note that if you are including private content in your course (i.e. your Pressbooks book is set to private or individual pages in it do not have the ‘Show in web’ option selected), you will need to make sure your book in Pressbooks has its Settings > Sharing & Privacy > Private Content setting set to ‘All logged in users including subscribers’. If not, students mapped to the role of subscriber from the LMS will not be able to access private content when launching LTI links (they’ll see an ‘Oops! This content cannot be found’ message instead). You can update the Private Content setting in your book dashboard in Pressbooks from Settings > Sharing & Privacy.
