Manage a Shared Network (as a Network Manager)
Note: The following actions can only be done on a shared network where the Pressbooks Shared Network plugin has been activated.
If you administer a shared Pressbooks network and you are interested in adding this optional plugin to your network, please contact your account manager to learn more.
As a network manager on a shared network where the Pressbooks Shared Network plugin is active, you have the ability to create and edit Institutions on your network, assigning existing books and users to them. These Institutions can, in turn, be managed by dedicated institutional managers.
Instructions for institutional managers within a shared network can be found in the following chapter.
This current chapter outlines what you can do as a network manager of an overall network where the Pressbooks Shared Network plugin is active:
Add or Edit Institutions
Navigate to Institutions > Add Institution in the left sidebar menu of the Administer Network interface. From here, you’ll be able to add a new institution to your shared network, giving it a name and specifying any email domains you’d like to associate with the institution. Once you’ve created the institution, new users subsequently registered on your network with an email domain specified here will be automatically assigned to the institution.
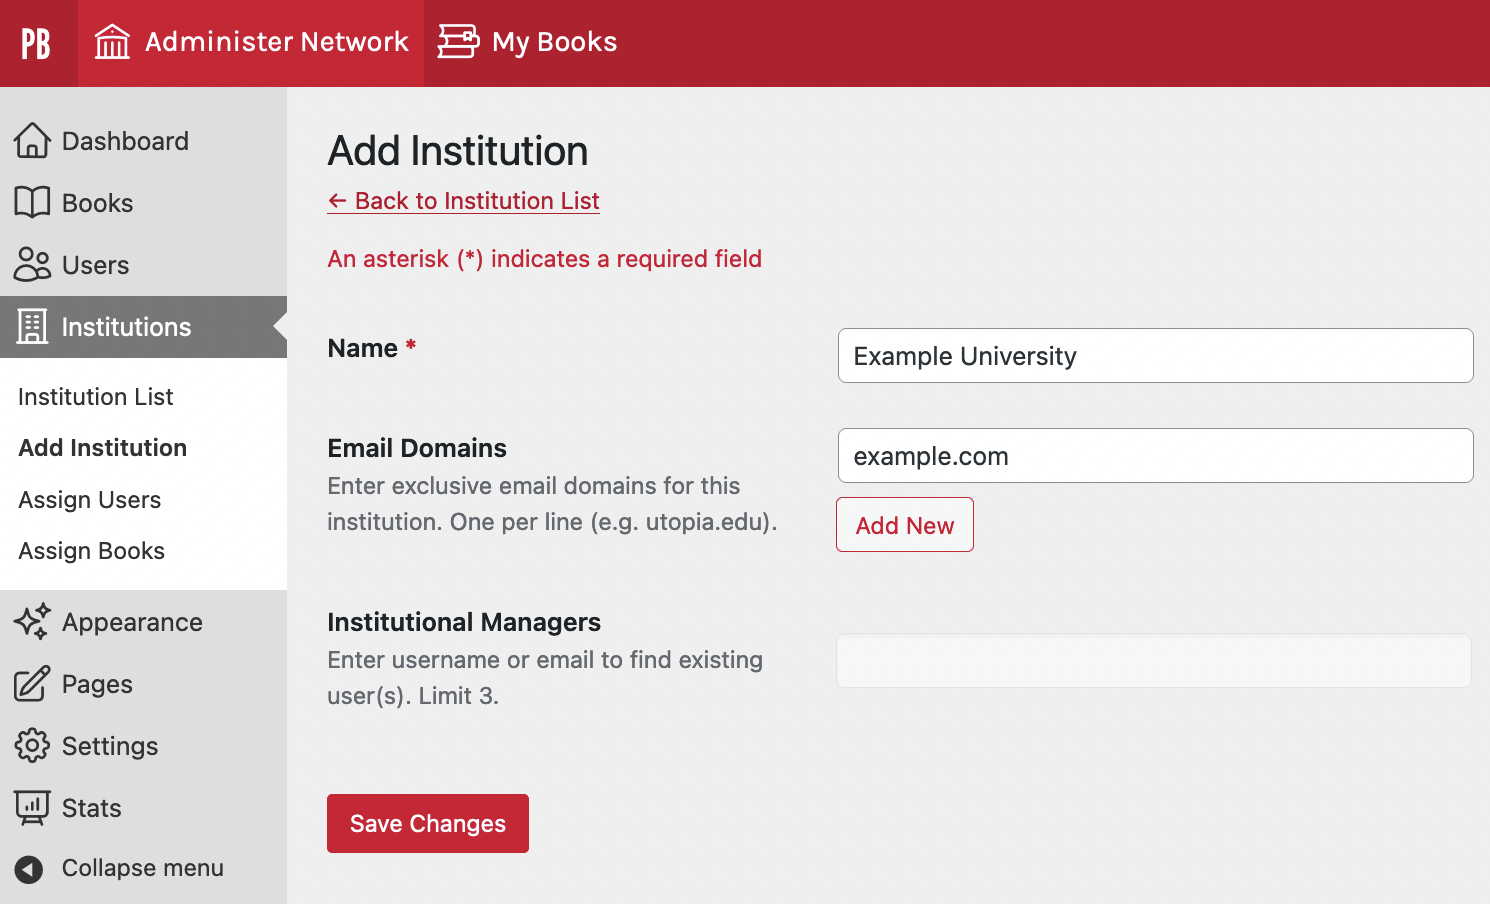
Click ‘Save Changes’ to create the institution. After creating an institution, it will appear along with all of your other institutions on the Institutions > Institution List page.
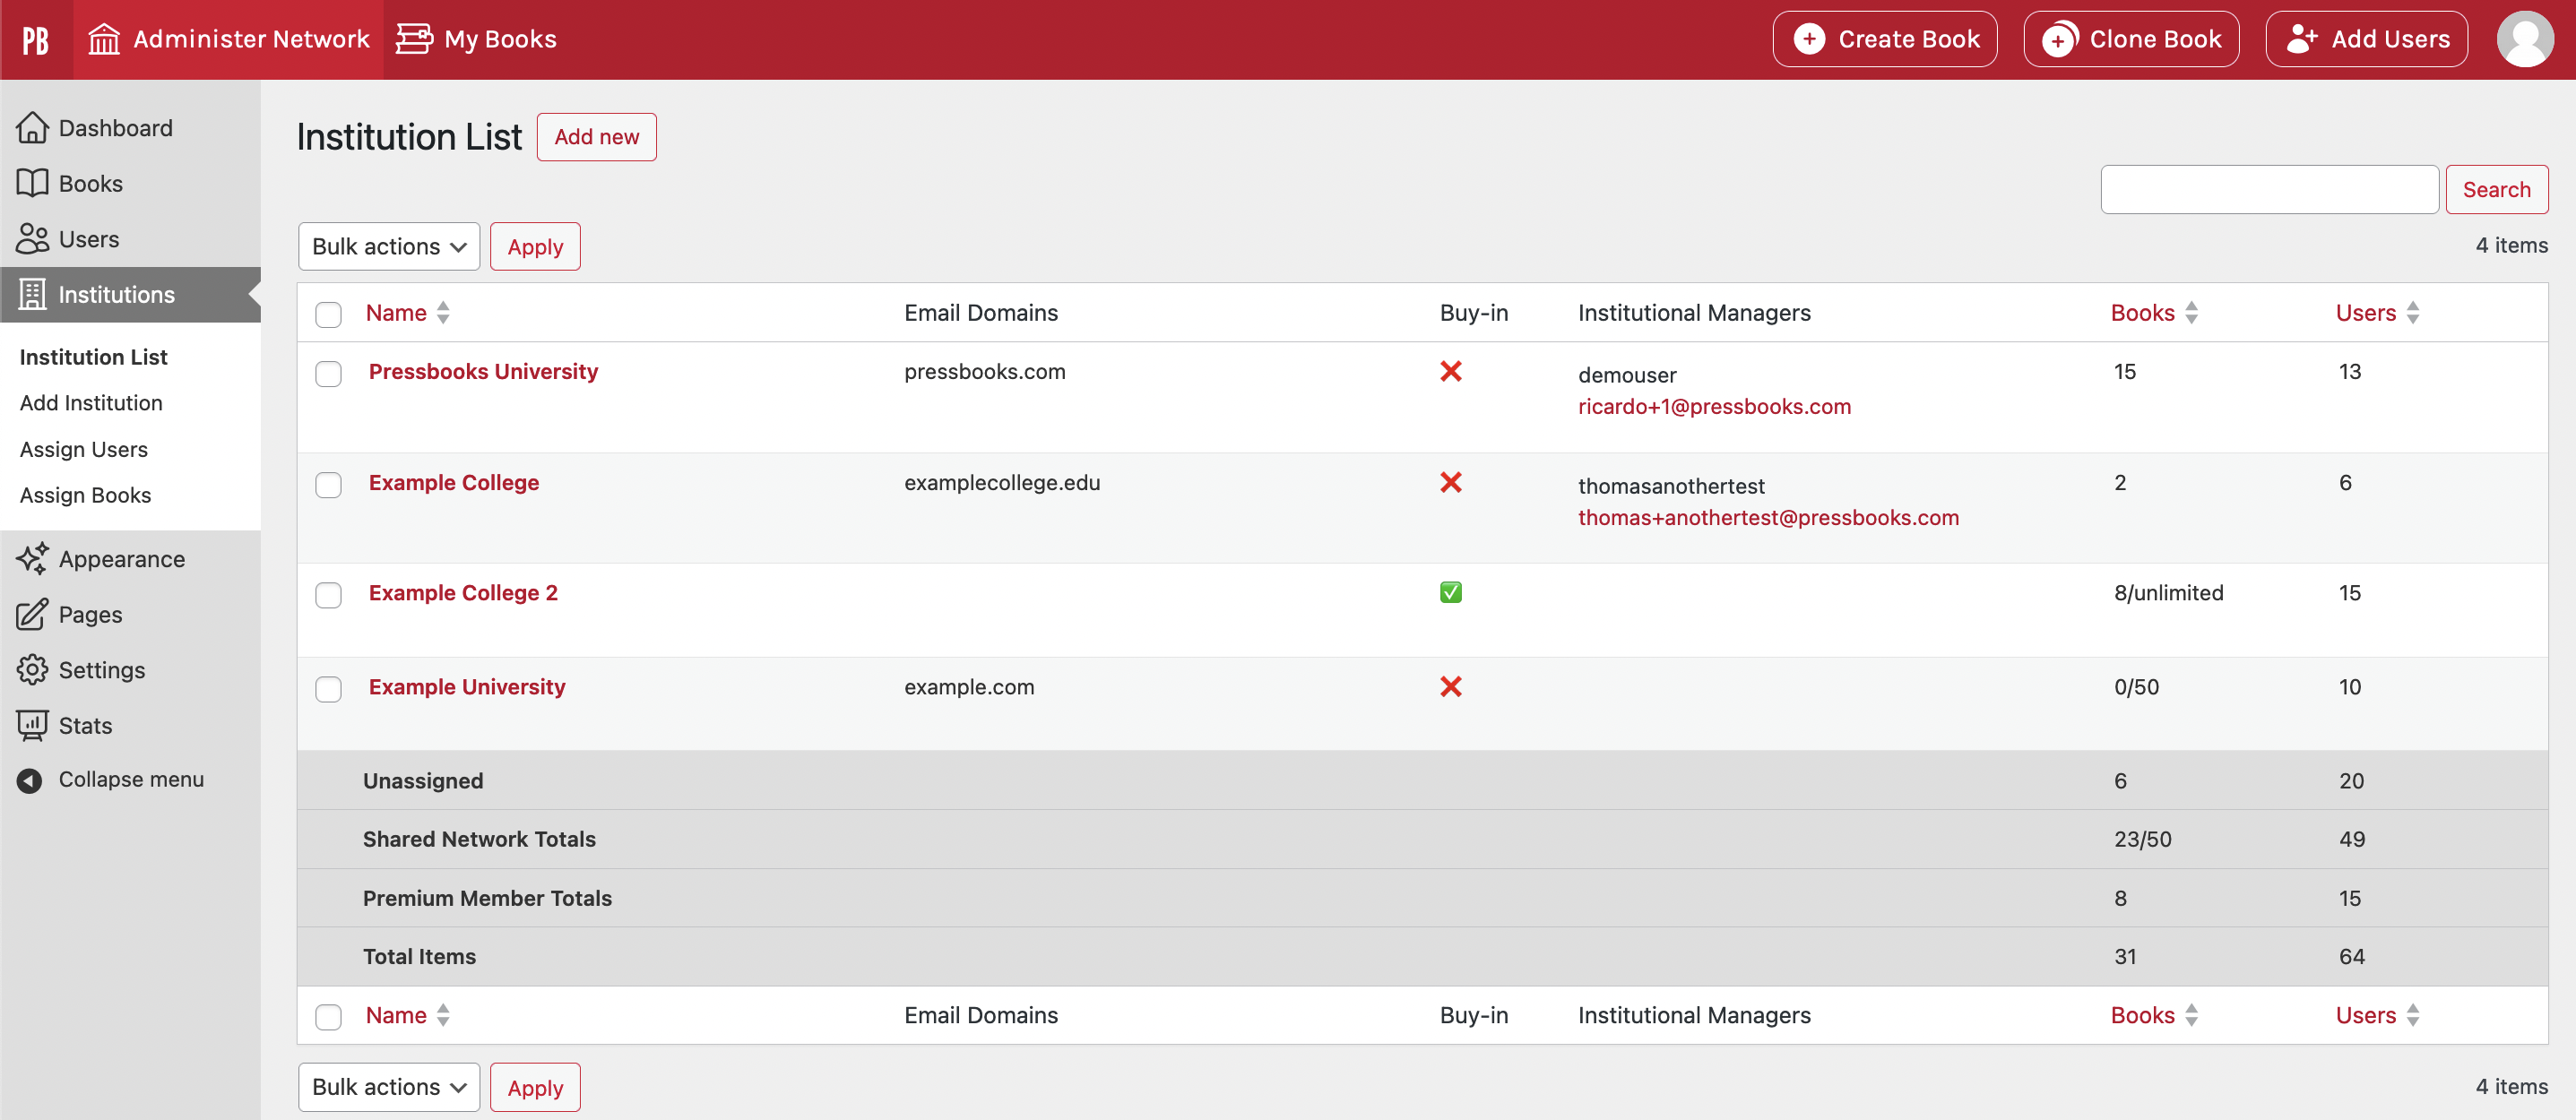
To edit details for an institution, hover your cursor over its name and click the Edit link.

This brings you to the ‘Edit Institution’ view.
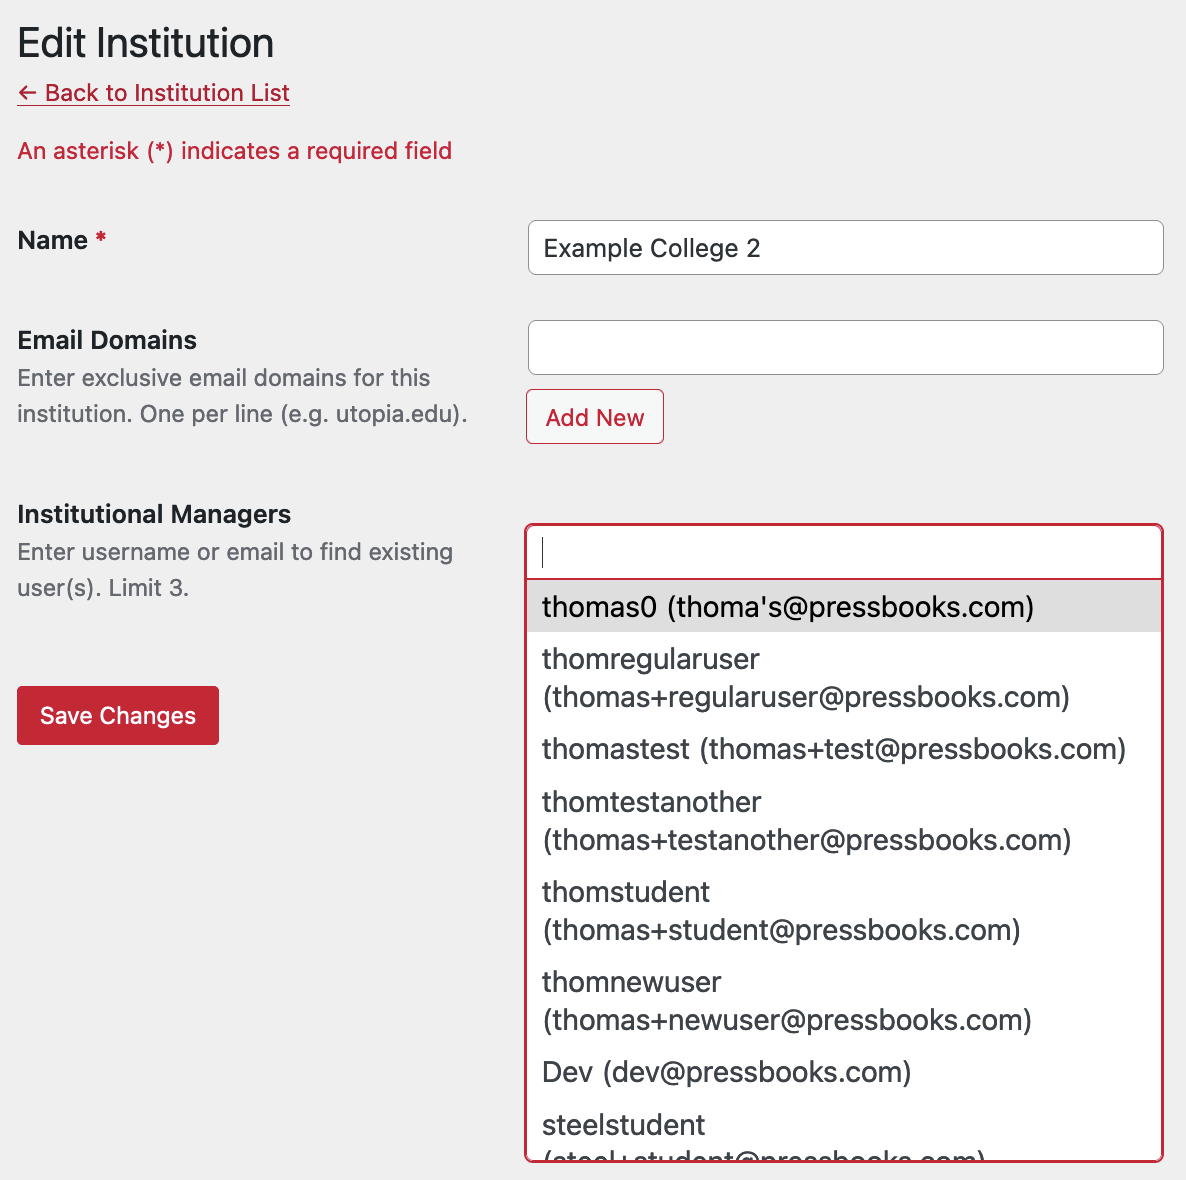
If an institution has bought in as a premium member, or otherwise has institutional managers allowed — or if your overall network is set to ‘unlimited’ — you will be able to assign existing users as institutional managers from this view.
Click ‘Save Changes’ to update changes to the name, email domains, or institutional managers fields.
Assign Users to Institutions
To assign users on your network to institutions, navigate to Institutions > Assign Users. On this page, you’ll find a list of all users on your network. The ‘Institution’ column displays the institution that each user currently belongs to. Users who aren’t associated with an institution yet are indicated by ‘Unassigned’ in this column.

By default, the list is sorted alphabetically by Username, but you can also choose to sort it alphabetically by Name, Email, or Institution by clicking the up or down arrows next to the name of each column. You can also filter the list to only display ‘Unassigned’ users by clicking the Unassigned link below the ‘Assign Users’ text on this page.
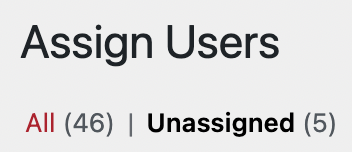
To assign a user to an institution, click the Set Institution dropdown menu above the list of users.
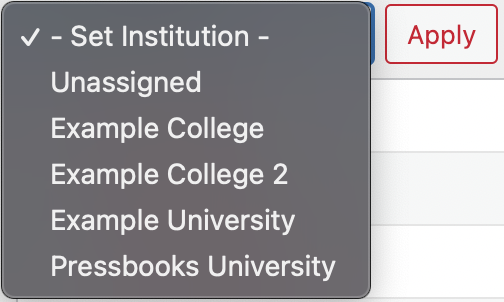
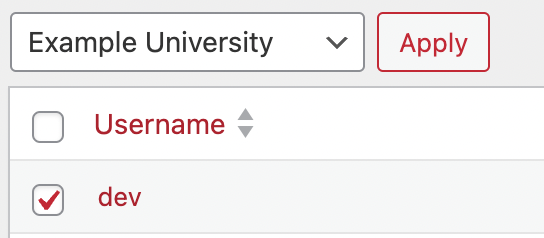
Select an institution from the list of options. Then, click the checkbox beside the username for any users that you want to assign to this institution. Click ‘Apply’ and the selected users will be assigned to this institution.
Assign Books to Institutions
To assign books on your network to institutions, navigate to Institutions > Assign Books. On this page, you’ll find a list of all books on your network. The ‘Institution’ column displays the institution that each book currently belongs to. Books that aren’t associated with an institution yet are indicated by ‘Unassigned’ in this column.

Assigning books to institutions and navigating this page can be done exactly the same way as in the Assign Users page discussed above.
Assign LTI Platforms to Institutions
To assign existing LTI connections on your network to institutions, navigate to Institutions > Assign LTI Platforms. Here you’ll find a list of all LTI Platforms on your network. The ‘Institution’ column displays the institution that each LTI Platform currently belongs to. LTI Plaforms that aren’t associated with an institution yet are indicated by ‘Unassigned’ in this column.

Assigning LTI Platforms to institutions follows the same process as in the Assign Users page discussed above.
Filter Network Book/User Lists by Institution
When you view your overall network Books or Users pages on a network with this Shared Network plugin active, there is an additional ‘Institution’ column displayed for each book or user. You can click the ‘Institution’ column name to sort the network book or user list alphabetically by Institution.
You can also filter your book or user list by Institution. Click the ‘Institution’ tab at the top of the page, above the list, and click the checkbox for any of the Institutions that you’d like to limit your search results to. Press the ‘Apply Filters’ button and you will be shown books or users from the selected institutions only. Click ‘Reset Filters’ to view all books or users again.

View Institution Details in Stats Downloads
On the Stats > Network Stats page reachable through the left sidebar menu of the Administer Network interface, the downloadable CSV file for any of the available stats — Page view & download data, Users Over Time, Books Over Time, User Revisions Over Last, Network Storage, and Most Cloned Books — now contains an Institutions column indicating which institution each book or user is from. This can be used to view stats for a particular institution.
Users with the role of ‘institutional manager’ are able to view stats for their institution only as described in the following chapter.
